How to Preserve Facial Features in AI Generation: The Ultimate Consistent Character Guide
The Single Biggest Challenge in AI Character Creation
If you've ever tried to create AI comics, storyboards, or cohesive brand assets, you've hit the wall: generating the same character consistently across different scenes and angles. This is the single biggest pain point for creators working with AI image generation.
What follows is the actual playbook. Concrete prompt syntax, the API settings most guides skip, and three live template grids that prove the techniques hold across nine scenes per character.
Why Character Consistency Fails (And How to Fix It)
The Root Problem
AI models don't "remember" your character. Each generation is a fresh interpretation based on your prompt. Without precise facial feature anchoring, you'll get variations that look like cousins, not twins.
⚠️ Common Consistency Killers
- Vague Descriptions: "A woman with brown hair" vs "A woman with shoulder-length chestnut brown hair, warm hazel eyes, and a small beauty mark above her left lip"
- Missing Feature Anchors: Not specifying unique identifiers like scars, moles, or distinctive facial proportions
- Inconsistent Styling: Changing hair, makeup, or lighting between generations
- Model Drift: Using different AI models or settings for the same character
The Nano Banana Solution
Nano Banana holds a face when you give it three things: a precise facial blueprint up front, a fixed seed in the API call, and targeted weights on the features that keep drifting. The next four sections cover each lever.
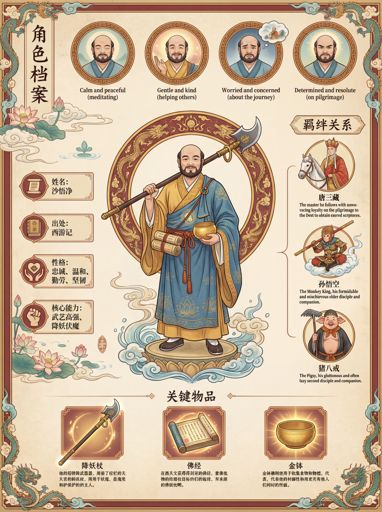
The Facial Feature Lock Framework
Core Facial Architecture
Start with foundational structure. This is your character's skeletal framework that never changes.
This template establishes the fundamental facial structure. Include face shape, eye position, nose bridge, and jawline basics.
Unique Feature Identifiers
These are distinguishing marks that make your character recognizable even in silhouette.
Add distinctive features like beauty marks, scars, freckles, or unique proportions that make your character instantly recognizable.
3. Expression Consistency Rules
Define how your character's face moves and expresses emotions. This prevents the "different person" problem when changing expressions.
Define how specific facial features move during expressions. This ensures your character looks like the same person whether smiling, frowning, or surprised.
Nano Banana Prompting Techniques
The Layer Method
Build your prompts in layers, starting with core face and adding context. This ensures the AI prioritizes facial consistency over environment details.
Wrong Approach
"A woman in a coffee shop,\nwearing a red dress,\nsitting by the window,\nmorning light streaming in"
Environment dominates, face is secondary
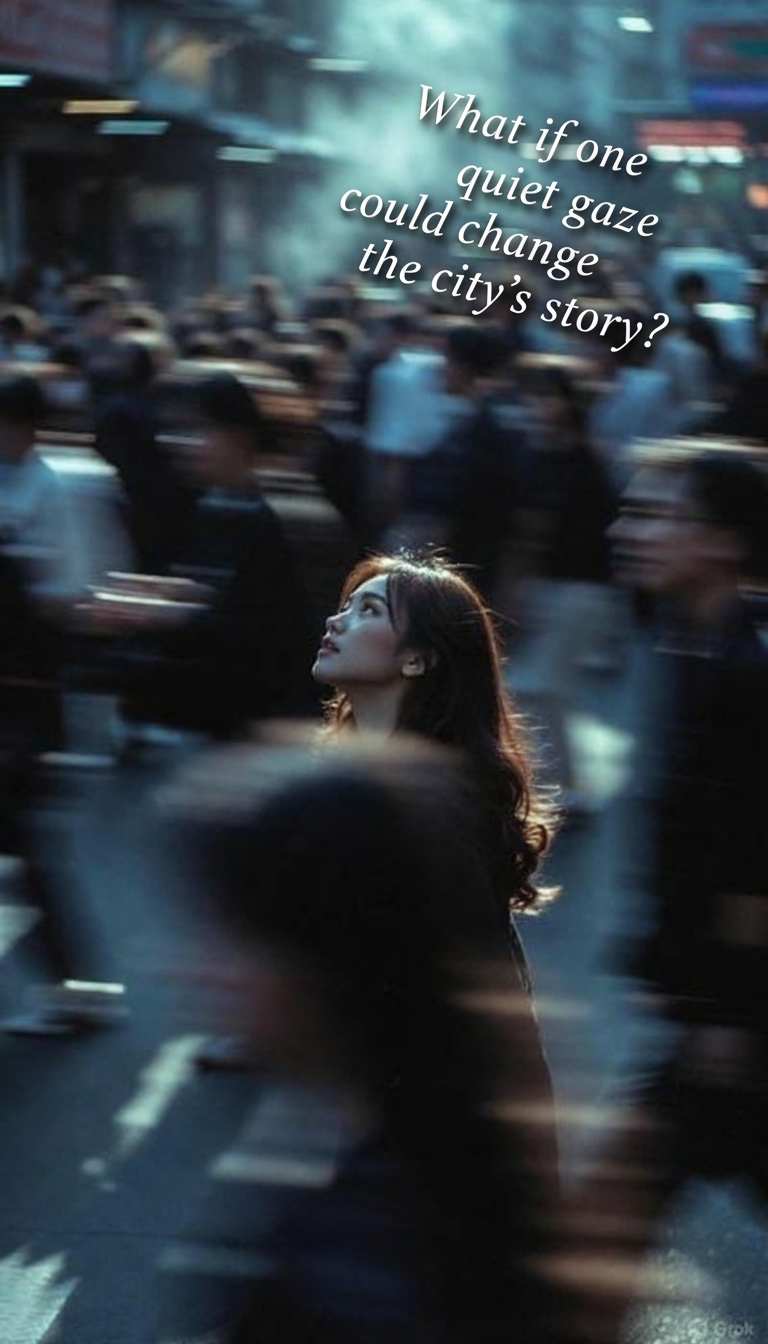
Nano Banana Method
Subject: 28-year-old woman, sharp square jawline, deep-set hazel eyes, aquiline nose, prominent mole on left cheekbone, collarbone-length dark brown hair parted down the middle.
Scene: morning light through tall café windows, three-quarter angle, 85mm lens compression, looking off-camera to the left.
Face first, environment second
The Reference Image Chain
Use your best generation as a reference for the next one, creating a chain of consistency.
🔗 Reference Chain Process
- Generation 1: Create base character portrait with maximum detail
- Generation 2: Use Gen 1 as reference, add new angle/expression
- Generation 3: Use Gen 2 as reference, change environment
- Continue: Each generation builds on previous consistency
The Angle Adaptation Formula
Different angles require different prompt adjustments. Here's how to maintain consistency across views.
| Angle | Key Adjustments | Consistency Priority |
|---|---|---|
| Front View | Symmetry emphasis, eye alignment | Eye distance, nose center |
| Profile View | Nose bridge, jawline curve | Chin projection, brow ridge |
| 3/4 View | Eye perspective, facial depth | Eye size ratio, cheek volume |
The Mechanics Behind the Lock
Prompt structure gets you 70% of the way. The remaining 30% is the model settings most prompt guides skip — the things you change in the API call, not the prompt. These three levers are how production teams actually hold a face across a 9-image batch.
1. Pin the seed before you iterate
Every generation starts from a random seed. If you don't fix it, the model re-rolls — same prompt, different face. Pass an explicit `seed` in the Gemini API call (or set it once in Google AI Studio's advanced panel) and your subject's bone structure stays locked across turns. Vary the prompt; keep the seed constant. That's the single biggest mechanical lever and almost nobody mentions it.
# Gemini API — pin a seed across every face generation
client.models.generate_content(
    model="gemini-3-pro-image-preview",
    contents=[face_prompt],
    config={"seed": 42, "image_config": {"aspect_ratio": "3:4"}},
)
Once a seed gives you a face you like, copy that integer into every follow-up call. The face will hold even as you change lighting, wardrobe, and angle.
2. Weight the features the model keeps drifting on
Nano Banana respects emphasis syntax — `(deep-set hazel eyes:1.3)` tells the model to spend more attention budget on that phrase. Use this surgically: if eye color keeps drifting across regenerations, weight it. If the jawline softens, weight it. Don't weight everything or the prompt collapses — pick the 2-3 features that fail most often and lift them to 1.2-1.4.
Sarah, sharp square jawline, (deep-set hazel eyes:1.3), aquiline nose, (mole on left cheekbone:1.2), collarbone-length dark brown hair, three-quarter angle, soft window light.
Weights above 1.5 distort. Start at 1.2, climb only if the feature still drifts. The mole and the eye color are the two most common drift offenders on portrait subjects.
3. Tell it what NOT to change
Generic negatives (`low quality, bad anatomy`) are cargo-cult and barely move the needle. Targeted negatives that name the failure mode you've actually been seeing are different — `no rounded jawline` or `no light-blue eyes` directly counteract the drift you watched happen in the last batch. Write your negatives after seeing what the model gets wrong, not before.
Negative: no rounded jawline, no light-blue eyes, no symmetric face (right cheekbone mole must remain), no glasses, no aged-up skin.
A useful pattern: run two generations, note what drifted, then add those specific drifts to the negative line. The third generation usually lands.
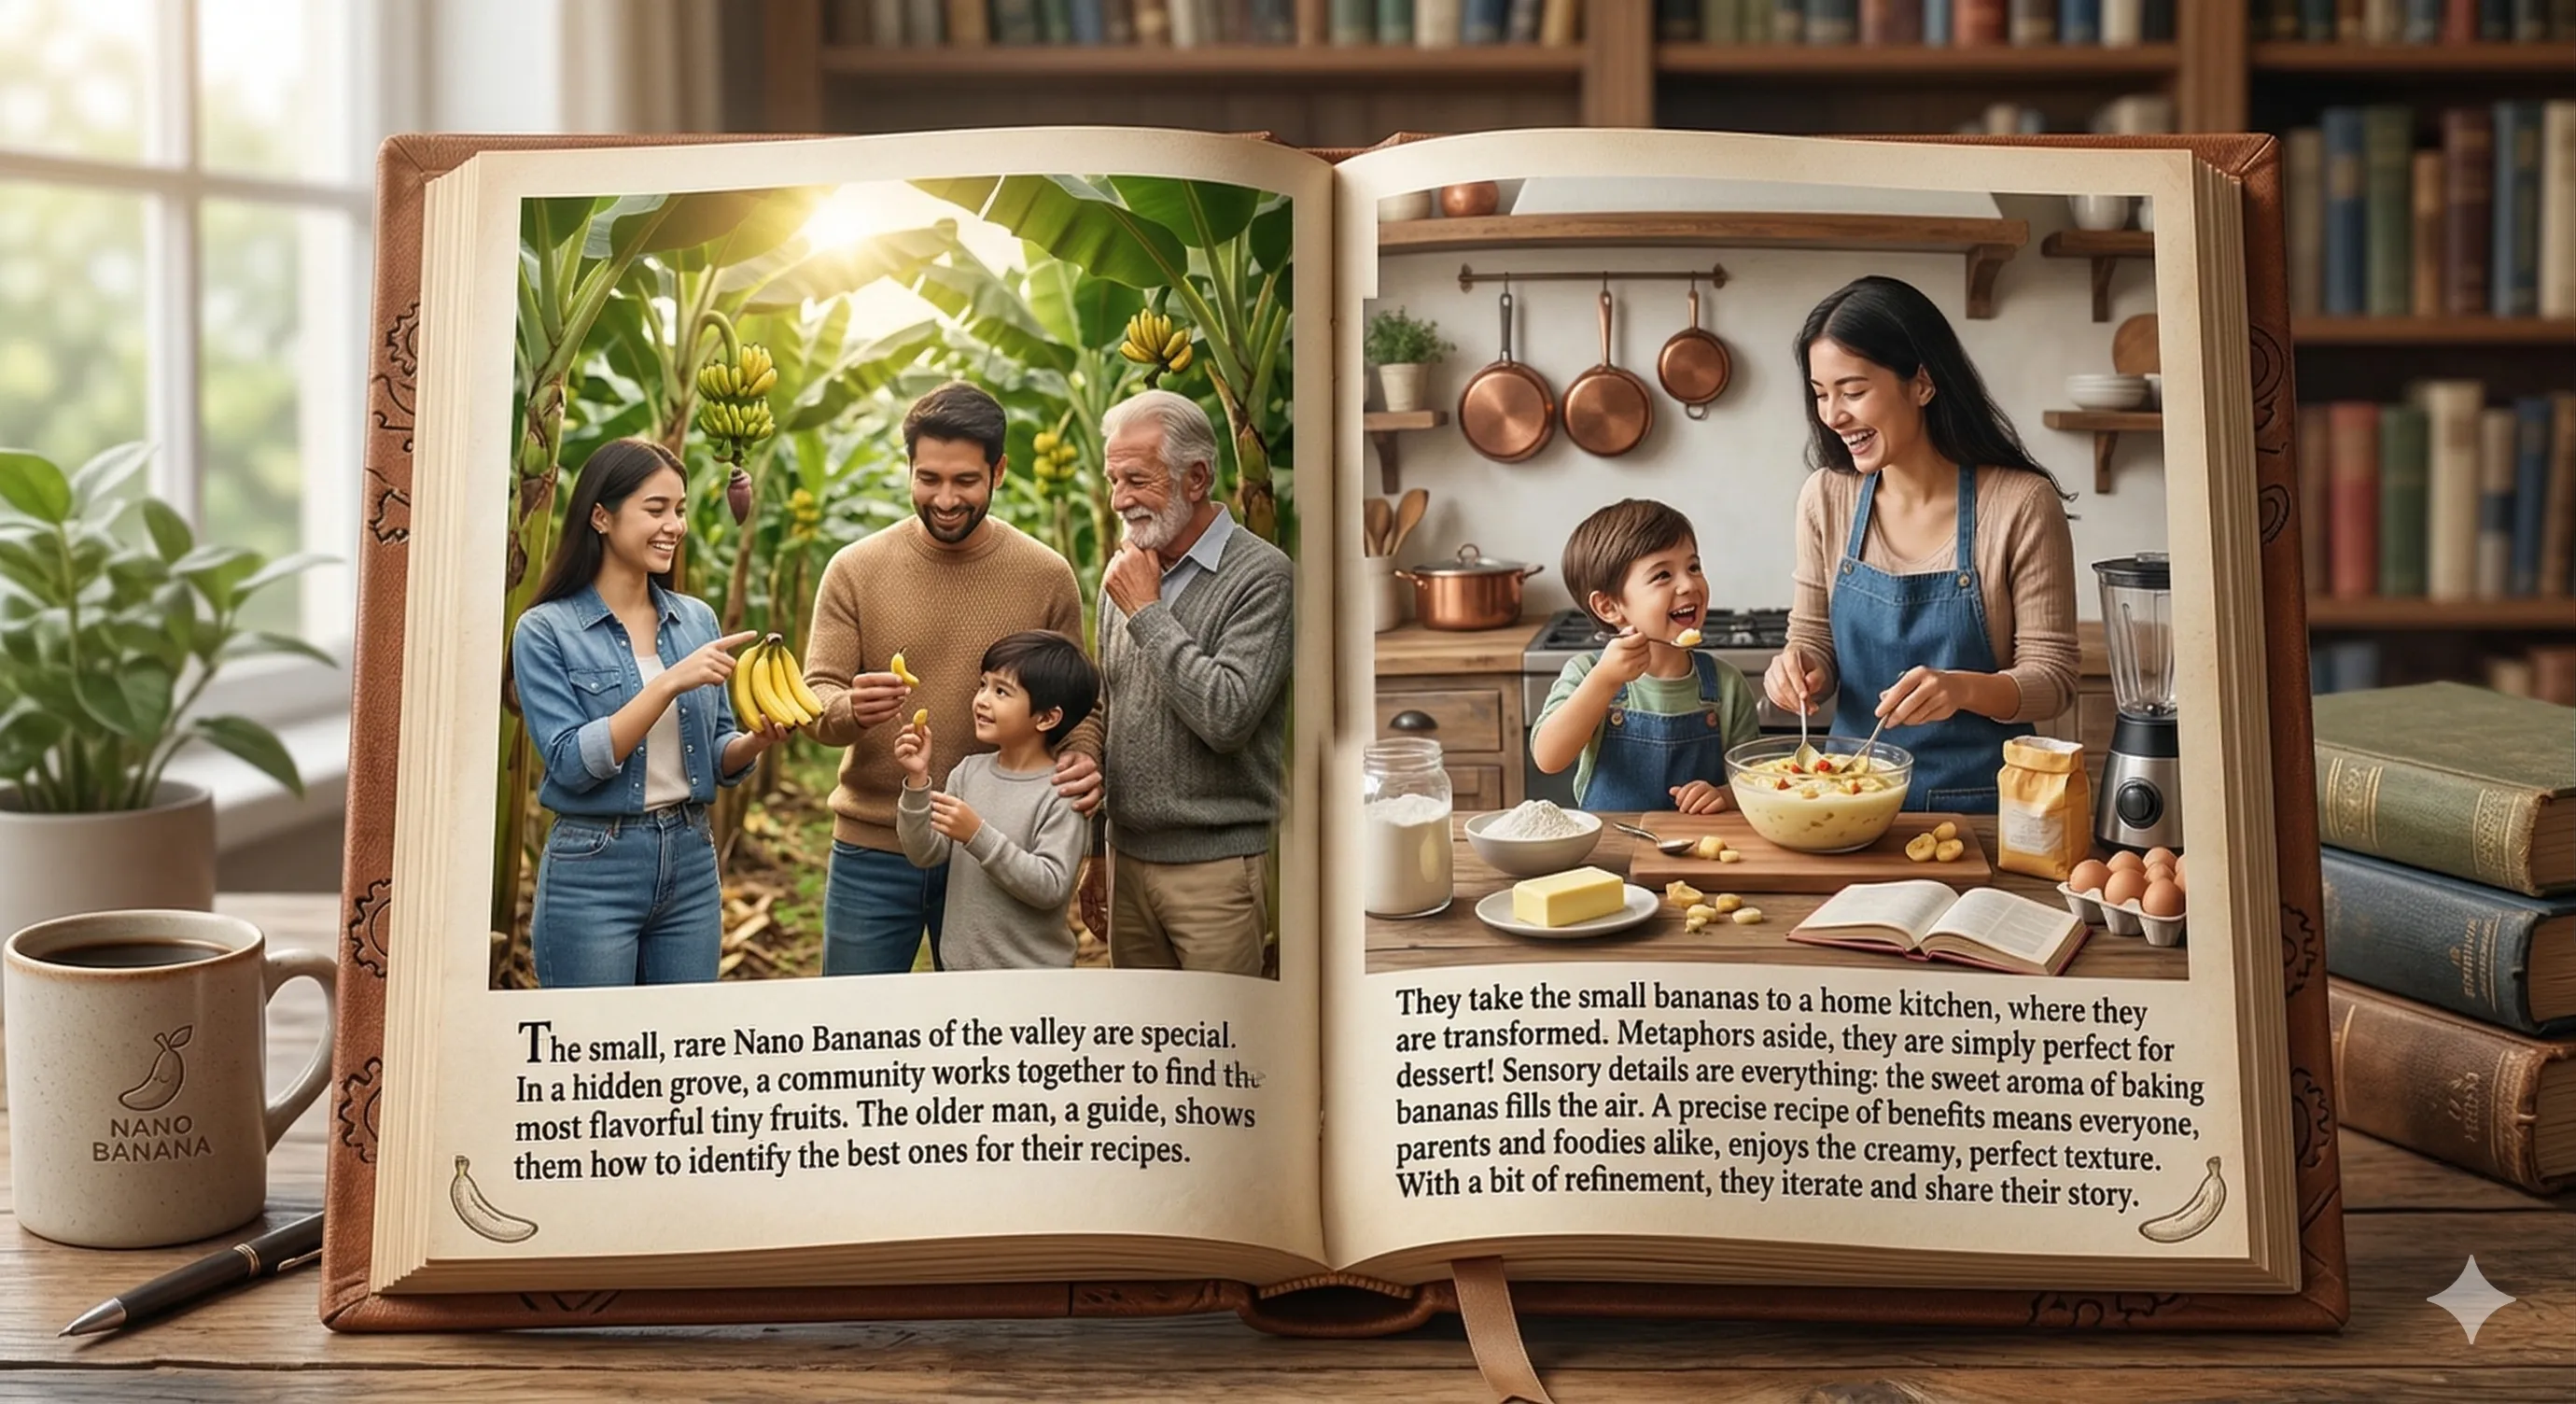
What identity-locked actually looks like
Three live template grids that hold the same face across nine scenes — open one, copy the prompt, swap the subject. The lifestyle-photo-grid template renders a 9-image grid — the same face across nine scenes — so it's the cleanest live demo of every technique in this post.

Open any grid and you can copy the exact template prompt, swap the subject, and ship a 9-image identity-locked set in under five minutes. The four techniques below are what the template bakes in.
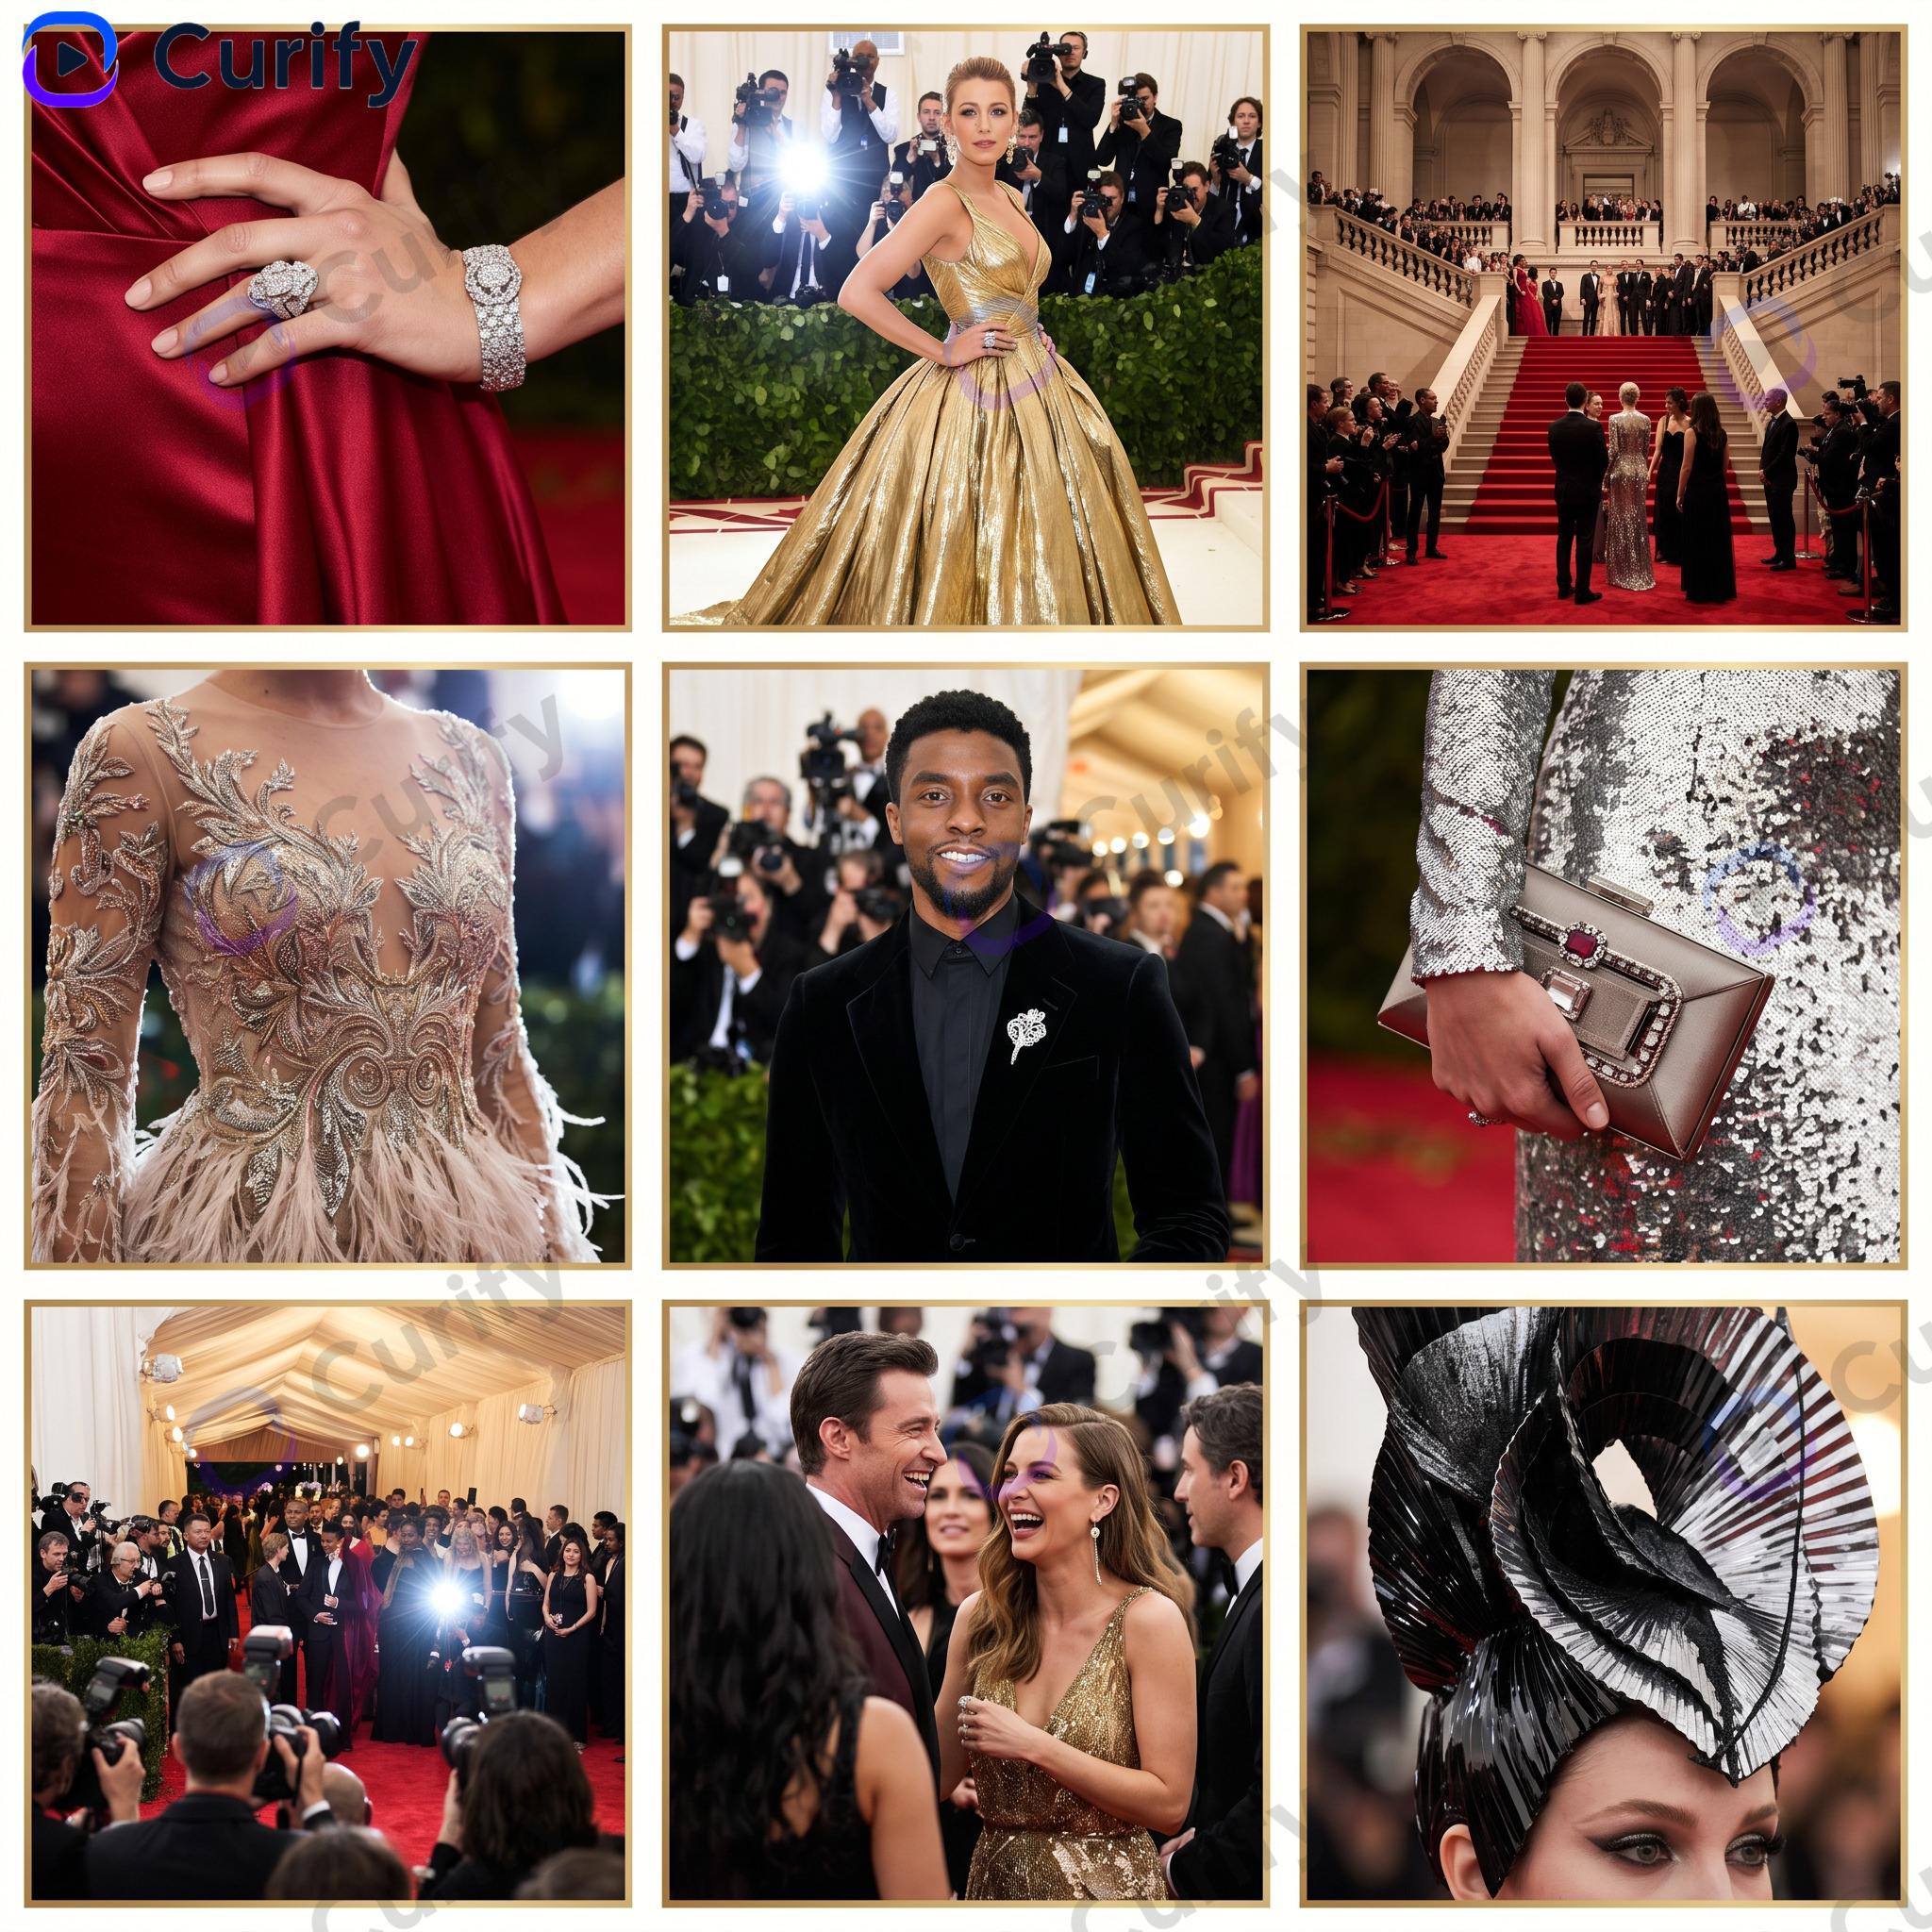
Advanced Consistency Techniques
The Style Transfer Method
Maintain facial features while changing artistic styles. Perfect for brand adaptation or comic variations.
Style Transfer Formula
28-year-old woman, sharp square jawline, deep-set hazel eyes, aquiline nose, mole on left cheekbone, collarbone-length dark brown hair parted down the middle, rendered in cel-shaded anime, line art emphasizes the same jaw and nose geometry, hazel eyes kept as one of the two anchor colors, vibrant flat-shaded palette, three-quarter angle.
"Sarah's face blueprint, rendered in anime style, maintaining her distinctive beauty mark and hazel eyes, with clean line art and vibrant colors"
Ready to Build Your Consistency Framework?
The framework above is what you'd encode if you were writing each prompt cold. Faster path: copy a template that already encodes it.
The fastest path from this article to a working identity-locked set: open lifestyle-photo-grid, pick the scene closest to yours, copy the template prompt, and substitute your subject blueprint for the one already in there. For style transfer across illustrated formats, the fashion-inspired-gown-design-sheet template ships the angle + lighting scaffold pre-baked; you swap the subject and aesthetic tag.
For browsing more identity-locked references first, the portrait and photorealistic tag pages collect prompts that hold a face well across variations.